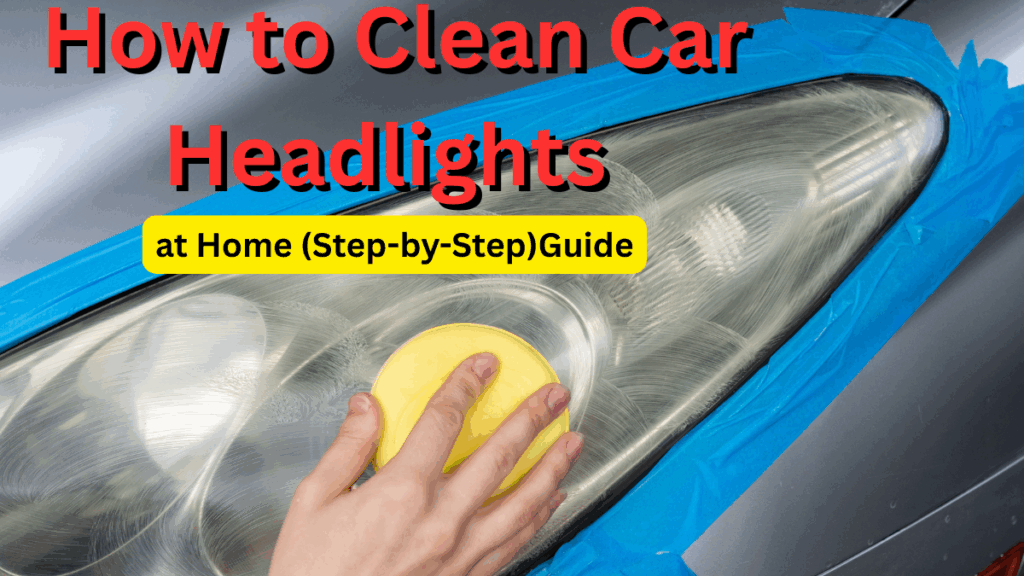
Car headlights are essential for your safety on the road, but over time, they can become foggy or yellowed, reducing their effectiveness. If you’ve ever wondered how to clean car headlights at home without spending a fortune or heading to a mechanic, you’re in the right place!
This easy DIY car cleaning method will have your headlights shining bright again and improve your visibility on the road. Plus, it’s a great foggy headlight fix that anyone can do with household items.

Table of Contents
Why Clean Your Car Headlights?
-
Improved visibility: Clear headlights light up the road better, especially at night or in bad weather.
-
Safety: Helps you see and be seen by other drivers.
-
Appearance: Clean headlights boost your car’s overall look and value.
-
Cost-effective: DIY cleaning saves money compared to professional restorations.
What You’ll Need for This DIY Headlight Cleaning
Item |
Purpose |
|---|---|
Mild soap and water |
To clean surface dirt |
Masking tape |
To protect paint around headlights |
Sandpaper (800, 1200 grit) |
To remove oxidation (optional) |
Toothpaste or baking soda |
Acts as a mild abrasive polish |
Microfiber cloths |
For wiping and polishing |
Spray bottle with water |
Keeps surface wet during sanding |
Step-by-Step Guide: How to Clean Car Headlights at Home
1. Prep Your Headlights
Start by washing your car and headlights with soap and water to remove loose dirt. Dry completely. Use masking tape to protect the paint around your headlights so you don’t accidentally scratch it.
2. Sand the Surface (For Heavy Fogging)
If your headlights are heavily foggy or yellowed, gently sand them with wet sandpaper, starting with 800 grit and moving to 1200 grit. Keep the surface wet while sanding to avoid damage.
3. Apply Toothpaste or Baking Soda
Use a small amount of toothpaste or a baking soda paste on a damp microfiber cloth. Rub it onto the headlight surface using small circular motions. The mild abrasive action will polish away oxidation and grime.
4. Rinse and Dry
Rinse the headlights with water and wipe them dry with a clean microfiber cloth.
5. Final Polish
For extra shine, buff your headlights with a clean, dry microfiber cloth until they gleam.
Tips for a Successful Foggy Headlight Fix
-
Always keep the sandpaper and headlights wet during sanding.
-
Use gentle pressure when applying toothpaste or baking soda to avoid scratches.
-
Avoid harsh chemicals that can damage the plastic lens.
-
Repeat the process if headlights are still foggy, but don’t overdo sanding.
Quick Comparison: DIY vs Professional Headlight Cleaning
Feature |
DIY Car Cleaning |
Professional Cleaning |
|---|---|---|
Cost |
Low (uses household items) |
Higher (service fees) |
Time |
30-45 minutes |
Usually faster, but needs appointment |
Effectiveness |
Good for mild to moderate fogging |
Best for severe damage |
Convenience |
Done at home anytime |
Requires visit to a shop |
FAQs
Q1: How often should I clean my car headlights?
A: It depends on your driving conditions, but every 6 months is a good rule of thumb to keep headlights clear and bright.
Q2: Can I use toothpaste on all types of headlights?
A: Yes, toothpaste works well on plastic headlight covers, which are common on most vehicles.
Q3: What if my headlights are cracked or deeply scratched?
A: DIY cleaning won’t fix cracks or deep scratches. It’s best to replace the headlight or seek professional help.
Q4: Is DIY headlight cleaning safe for my car’s paint?
A: Absolutely, as long as you use masking tape to protect the paint and avoid harsh chemicals.
By following these simple steps, you’ll know how to clean car headlights at home easily, save money, and get a great foggy headlight fix that brightens your drive. Ready to try your own DIY car cleaning? Your headlights will thank you!
Click here to learn more
